Blog
How to Iron On a Patch: The Complete Step-by-Step Guide

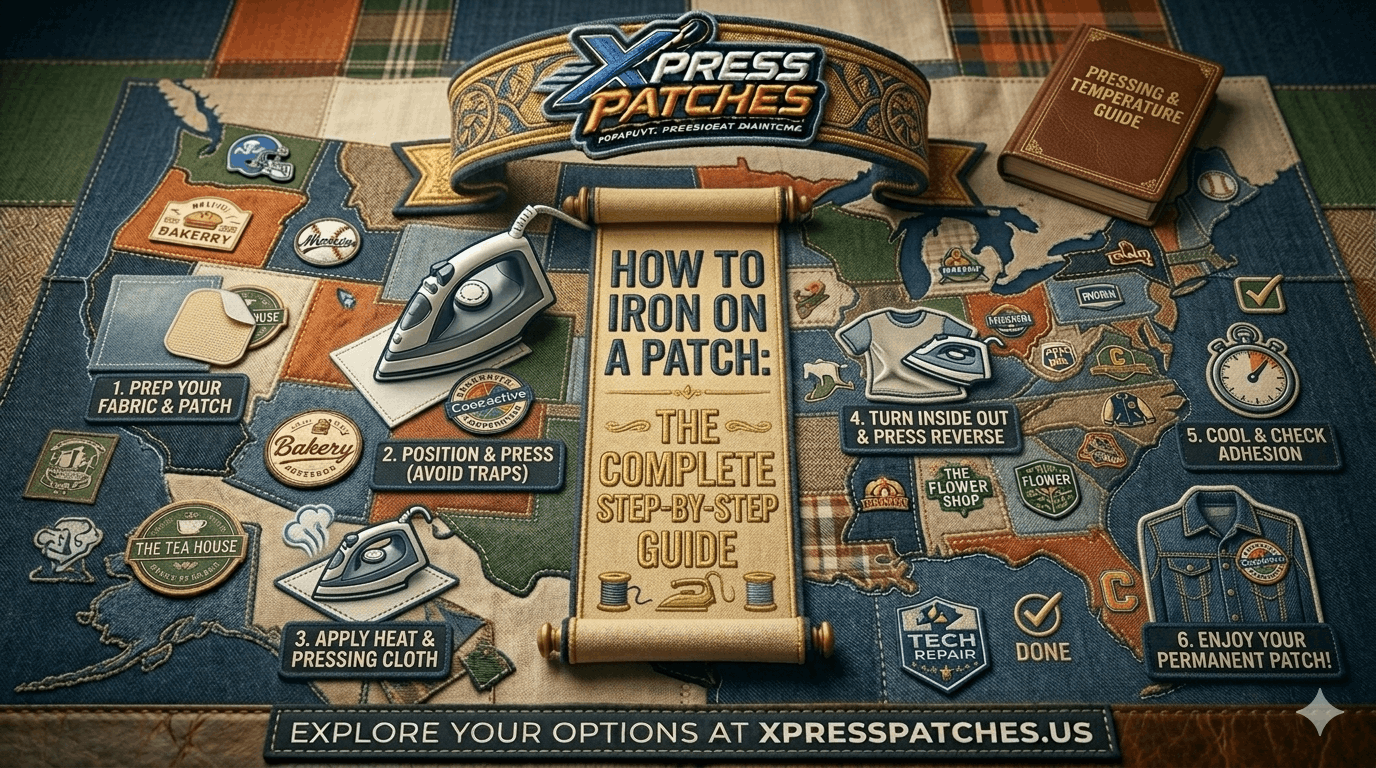
Learning how to iron on a patch correctly makes the difference between a badge that lasts for years and one that peels off after the first wash. The good news is that how to iron on a patch is simpler than most people expect — the details matter, but the process takes less than five minutes when done right. Temperature, pressure, fabric type, and technique all affect how well the patch bonds to your garment.
In this guide, we walk you through how to iron on a patch step by step, share pro tips for the best possible bond, and explain which fabrics work well and which ones to avoid.
What You Need Before You Start Ironing On a Patch
- Your iron-on patch — confirm it has a heat-activated adhesive backing (it will feel slightly waxy or rough on the back)
- A clothes iron — not a steam iron if possible; steam can prevent a clean bond
- The garment — pre-washed and fully dry
- A thin cotton pressing cloth — to protect the patch surface from direct heat
- A hard, flat surface — an ironing board or a firm table with a folded towel
How to Iron On a Patch: 7 Steps for a Permanent Bond
Step 1 — Preheat Your Iron
First, set your iron to the cotton or high-heat setting — typically around 300–320°F (150–160°C). Turn off the steam function if your iron has one. Steam adds moisture to the fabric, which can prevent the adhesive from bonding properly. Give the iron two to three minutes to reach full temperature before you start.
Step 2 — Prepare the Garment
Next, place your garment on a firm, flat surface. Smooth out any wrinkles in the area where the patch will go — wrinkles prevent even contact and can cause the patch to bond unevenly. If your garment has a lining inside, place a folded towel inside to create a firm backing and prevent the adhesive from bleeding through to the other layer.
Step 3 — Position the Patch Carefully
Place your patch in the exact position you want it, adhesive side down. Take your time here — once bonded, knowing how to iron on a patch correctly means getting placement right first, as repositioning after bonding can damage the fabric. Use a ruler to centre the patch if placement precision matters.
Step 4 — Cover with a Pressing Cloth
Lay a thin cotton cloth over the top of the patch. This step is important because direct heat from the iron can melt, flatten, or discolour the surface threads of embroidered patches. The pressing cloth acts as a barrier, allowing heat to pass through while protecting the patch surface. As a result, your patch keeps its original appearance.
Step 5 — Apply Firm, Even Pressure for 30 Seconds
Press the iron firmly down onto the pressing cloth directly over the patch. Hold it in place for 25 to 30 seconds without moving the iron back and forth. Apply firm, steady downward pressure — the weight of the iron alone is not usually enough. After 30 seconds, lift the iron straight up rather than sliding it off.
Step 6 — How to Iron On a Patch from the Reverse Side
Turn your garment inside out and repeat the process from the reverse side. Press the iron over the back of the patch location for another 25 to 30 seconds. As a result, the adhesive gets heat from both directions, which creates a much stronger and more lasting bond. This step is the most common one people skip — and it is the most common reason patches peel off early. Therefore, never skip it.
Step 7 — Let It Cool Completely
Finally, let the garment cool for at least 60 seconds before touching or moving the patch. The adhesive is still soft immediately after ironing. Moving the garment too early can cause the patch to shift or lift at the edges. Once cool, press firmly around all edges with your fingers to confirm a full bond.
How to Iron On a Patch to Different Fabric Types
Best Fabrics for Iron-On Patches
- Cotton — the best choice. Cotton handles high heat well and the adhesive bonds strongly to the fibres.
- Denim — excellent. The tight weave of denim holds the adhesive very well.
- Canvas — works well, especially for bags and tote bags.
- Cotton-polyester blend — generally works, though reduce heat slightly to protect the polyester fibres.
Fabrics to Avoid When Ironing On Patches
- Nylon and synthetic fabrics — high heat will melt or distort these. Avoid iron-on patches on athletic gear and rain jackets.
- Leather and faux leather — iron heat can crack or warp leather. Always sew patches onto leather instead.
- Silk and delicate fabrics — too fragile for the high heat required for a good bond.
- Waterproof or treated fabrics — the coating prevents the adhesive from penetrating the fibres.
How to Make Your Iron-On Patch Last Longer
Add a Few Stitches Around the Edge
The single most effective way to make an iron-on patch permanent is to add a few hand stitches around the outer edge after ironing. Even four to six stitches at the corners — or a simple running stitch all the way around — improves durability significantly. According to the Craftsy sewing guide, combining iron-on adhesive with edge stitching is the most reliable method for long-term patch attachment on frequently washed garments. Therefore, this combination is highly recommended for workwear and uniforms.
Wash Carefully After Ironing On a Patch
Wait at least 24 hours after ironing before washing the garment. Furthermore, always wash patched items inside out on a gentle cycle with cold water. Avoid tumble drying on high heat — air drying or low heat is better for preserving the adhesive bond over time.
Iron-On vs Sew-On vs Velcro Backing
- Iron-on — best for cotton and denim, casual items, and situations where convenience matters. Not suitable for synthetic fabrics or leather.
- Sew-on — the most permanent option. Works on any fabric. Best for uniforms and workwear washed frequently.
- Velcro — best when patches need to be swapped or repositioned. Ideal for tactical gear and rotating uniforms.
When you order custom embroidered patches, woven patches, or any other type from Xpress Patches, you can choose your preferred backing at no extra cost. Moreover, our team can advise on the best backing for your specific use case.
Frequently Asked Questions — How to Iron On a Patch
What temperature do you iron on a patch?
Set your iron to the cotton or high-heat setting, around 300–320°F (150–160°C). Turn off the steam function. Hold the iron firmly in place for 25–30 seconds without moving it.
Why won’t my iron-on patch stick?
The most common reasons are: the iron is not hot enough, pressure is too light, the fabric is synthetic or treated, or steam was used. Try again on high heat with firm downward pressure for 30 seconds on each side with no steam.
How long does an iron-on patch last?
With correct application on cotton or denim, an iron-on patch can last for years. Adding a few stitches around the edge after ironing significantly extends durability. Avoid hot water washing and tumble drying to preserve the adhesive bond.
Can I iron on a patch to a backpack?
It depends on the fabric. Canvas and cotton backpacks work well. However, most backpacks are made from nylon or polyester — in these cases, sew-on or Velcro backing is a better choice, as the heat required for iron-on can damage synthetic materials.
Order Custom Patches with Iron-On Backing Today
In summary, knowing how to iron on a patch correctly takes less than five minutes and results in a strong, lasting bond when done right. The key steps are high heat, firm pressure, ironing from both sides, and letting it cool fully before moving the garment.
Need custom patches with iron-on backing? At Xpress Patches, every order includes a free digital mock-up in 24 hours, no minimum quantity, and delivery in 14 days or less. Choose from embroidered, chenille, PVC, woven, or printed patches — all available with iron-on, sew-on, or Velcro backing.